Model NB-G250, NB-G251
- Insert the power plug into the outlet The power indicator, start stop indicator and display window are turned on when plugged in (standby status). If the control panel is left for more than 3 seconds, the start stop indicator and display window will turn off automatically, and if it is left for more than 1 minute, the power indicator will turn off automatically.
- Press the [ Power ] button to return to a standby status. (Power and start‧stop indicators will be turned on and the display window will be showed up.)
- Select a Menu (Toast, Bagel, Pizza) or a cooking option (Roast, Bake, Broil, Keep Warm) by rotating the [START/STOP ] dial to the right you can also press the [ Function ] button continuously to select the desired menu.
- Select quantity or set cooking time. Press [ Time/+30s ] button then turn [Dial] to select; desired slice (Toast or Bagel), size (Pizza) and press [START]. For Pizza after you select pizza size (6, 9 or 12 inch) you can change the tempertaure if desired by pressing [Temp.] Then press [START]. In manual cooking options (Roast, Bake, Broil and Keep Warm) it sets the time to cook (manual mode). To change Temperature press [Temp.] button then turn [Dial] to select desired temperature and press [START].
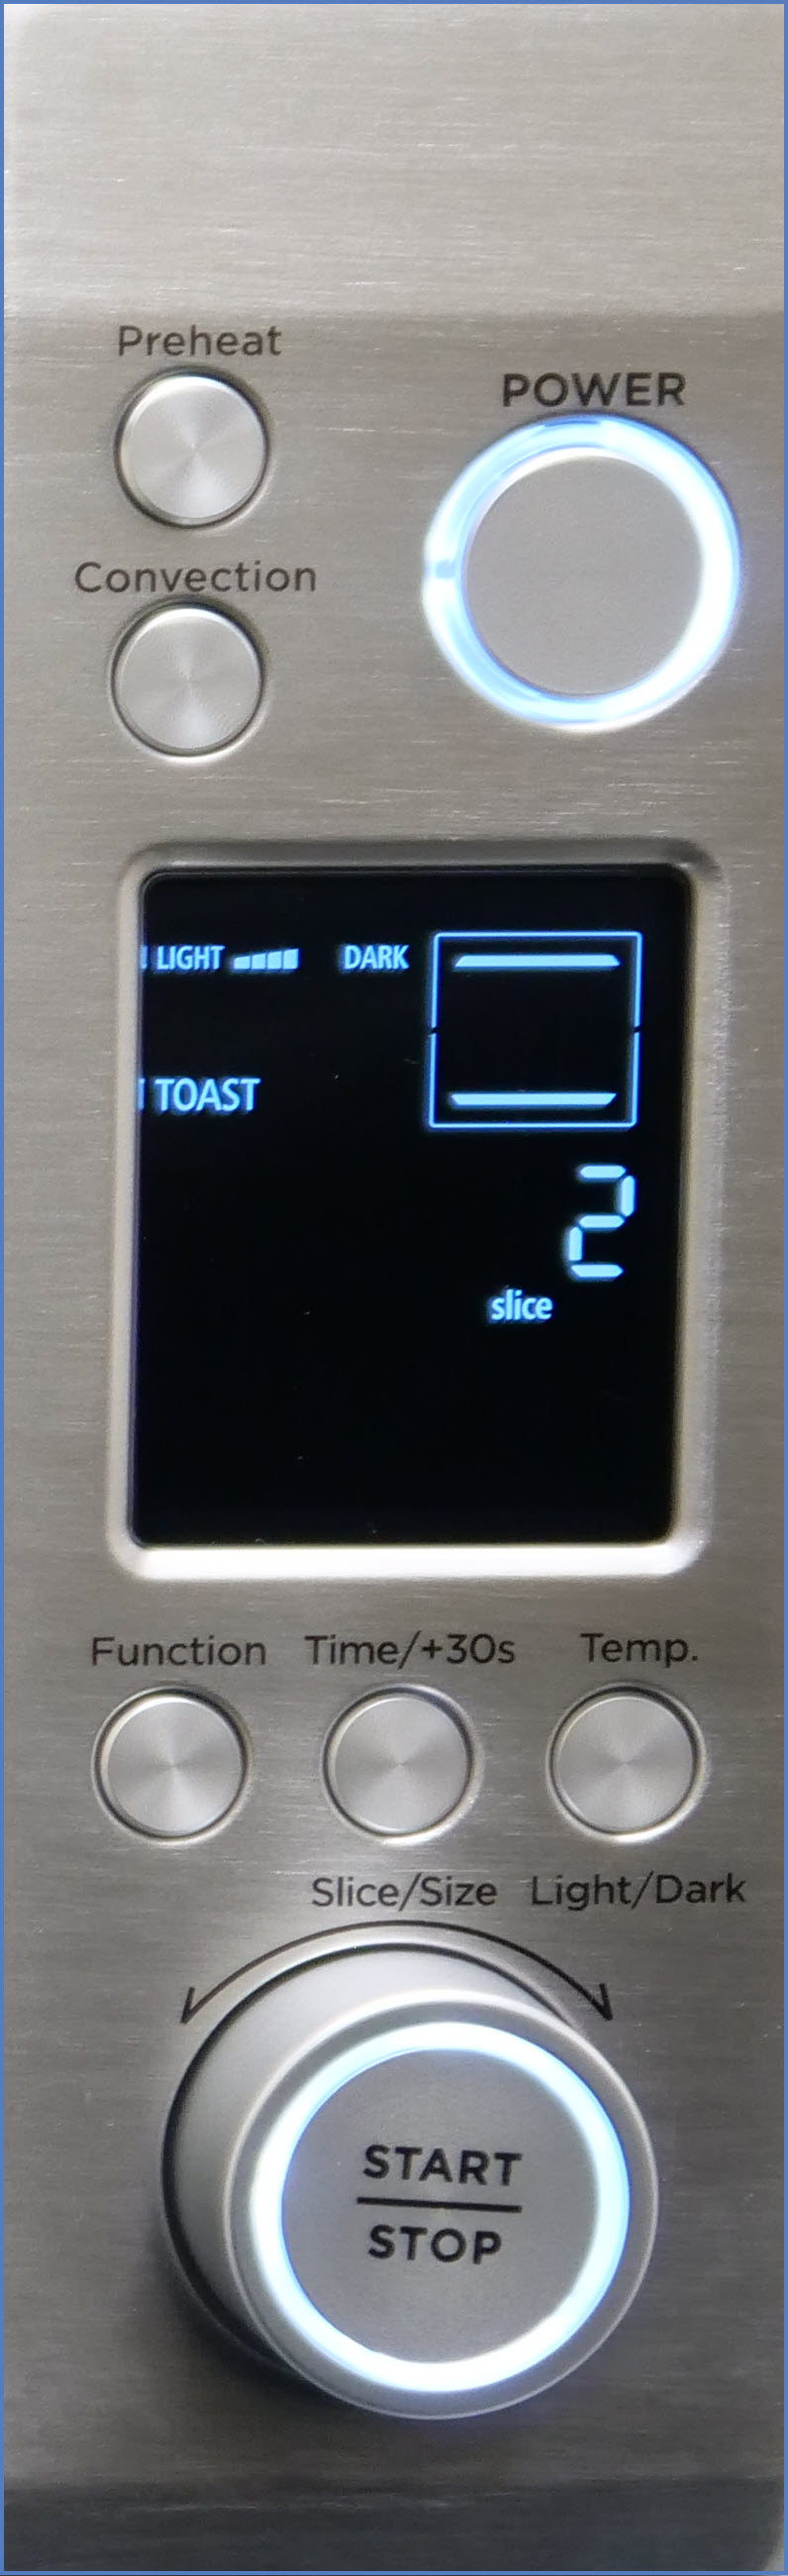
- To set the crust color level when set to Toast or Bagel press [Temp.] button then turn [Dial] to select the desired crust color level (light to dark). When in Manual cooking mode (Roast, Bake, Broil and Keep Warm) press [Temp.] button then turn [ Dial ] to select temperature.
- Set additional setting (only manual mode)
Preheat :- Press [ Preheat ] then [ START ] button. The beep will sound when oven has reached the set temperature.
- Open the door and put the food placed on the cooking rack or baking tray.
Convection :
Press [ Convection ] if desired. It can be available before or after start.
- Press [ START ] button to start cooking. The remaining time will be displayed on the display window. If the control panel is left more than 1 minute before pressing [ START ] button, the power will be turned off automatically even during setting. (Display window will be turned off.) Press the [ Power ] button to return to a standby status and start from step 2.
- Take out the food when you hear beep sounds Take out the cooking rack or baking tray with the holding rack. Slide - out rack or tray about 3 inches (10 cm) using the holding rack. Then use oven mitts to remove the food from the main unit. (Use your dry oven mitts.)
Additional Cooking
If the cooking is not complete :
Auto mode :
-
Press [Time / +30s] button. Additional cooking for 30 seconds is started. (Available within 1 minute).
-
If it is still not complete, repeat step 1.
Manual mode :
Back to step 2.
-
- Press the [Power] button to turn off and remove the power plug.
- Power indicator will be turned off automatically after 1 minute from the end of cooking.
Note:
- Continuous cooking or main unit still having residual heat :
Even using auto mode,baking condition will not be the same as first time. - The white smoke may appear if the food contains a lot of moisture or cooking amount is large. It is the moisture from the food and not abnormal
- In the manual mode, when the temperature is set to over 390 °F, this setting will last for approximately 14 minutes, and then automatically lower to 380 °F. Using “Convection”, when the temperature is set to over 350 °F, it automatically turns off after 10 minutes from the start. In case of an insufficient baking, perform additional baking if necessary.
- Do not open the door during cooking. (Cooking will be uneven.)
- Do not pour water or cold liquid on the glass window when it is hot.(The glass might break.)
Model NB-G200
- Insert the power plug into the wall outlet.
- Put the food inside the toaster oven.
- Press [Power Off/On] (Red power lamp comes on).
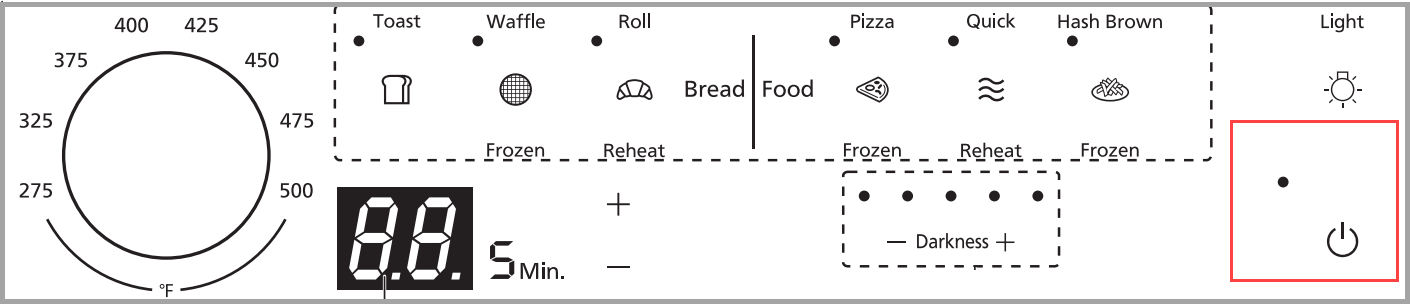
- Press any of the automatic cooking keys. (Toast, Waffle, Roll, Pizza, Quick, Hash Brown)

- Within 30 seconds, use the - or + keys to adjust the color of browning.
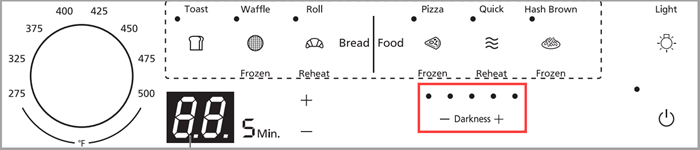
Setting the color of browning (Using the darkness control)
Lighting of the lamps occur in intervals every time the button is pressed.
- The color of browning varies with the type and quantity of food and the size (weight) of each piece.
- Once the toaster oven is set to a color of browning, the next round of cooking will be performed at this setting.
- The setting stored in memory will be lost if the power plug is removed.
- The color of browning will be set to medium when the power is turned on.
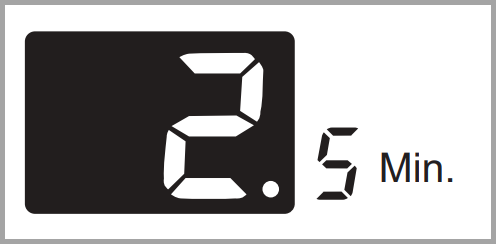
Cooking starts and the standard cooking time is displayed
- The displayed time counts down in increments of 0.5 minutes during cooking.
- Note:
For a while after cooking starts, the cooking time blinks. During this time, the baking time is checked. When the cooking time is confirmed, the displayed time stays on. - When cooking is finished, the buzzer sounds and the power is automatically turned off.
- Take out the food with a Oven Mitt.
- After use:
Turn off unit by pressing the power button. - The lamp goes out. Remove the power plug.
- After use:
Model NB-G211
- Install Accessories: Place the air fryer basket, baking pan, wire rack, or pizza stone into the correct position. For pizza stones, preheat and avoid cooking oily or greasy foods directly on it.
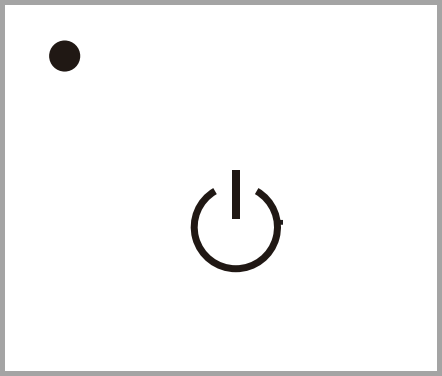
- Power On:Insert the power plug into the outlet. The product will enter standby mode. Press the "Power"
 button to toggle between standby and shutdown modes.
 - Select Menu: Rotate the "Function" dial
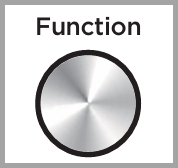 to choose your desired menu.
 - Set Cooking Temperature: Turn the "Temperature" dial
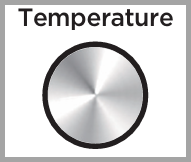 to adjust the cooking temperature. The default temperature is recommended.
 - Set Cooking Time: Rotate the "Time" dial
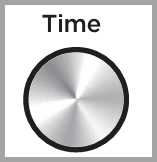 to set the cooking duration. The default time is recommended for standard settings.
 - Preheat (if required): If using a preheat menu, press the "Start/Pause" button
 to preheat. Once preheating is done, the unit will beep and enter standby mode if no action is taken within 10 minutes.
 - Start Cooking: Press the "Start/Pause" button to begin cooking. You can adjust the temperature or time during the cooking process as needed.
- Remove the Food: When you hear the beep sounds, use oven mitts to safely remove the air fryer basket, wire rack, baking pan, or pizza stone.
- Additional Notes: Avoid opening the door during cooking to ensure even results. If cooking large amounts of food with high moisture, white smoke may appear—this is normal. Do not pour water or cold liquids onto the glass when hot to prevent breakage.