Your television has a feature called Input Labelling. This
feature allows you to assign a label to a particular video
input.
This feature, also allows you to select "
SKIP" or "
Not Used", if the input is not being
used. When an input is labelled as "
SKIP" or "
Not Used", you cannot access it when
selecting the
INPUT
button.It will appear greyed out. "
Customize" option allows you to
enter your own labels for the input (ex.“Computer”).
There are various methods to assign input labels depending
on your particular VIERA model/Series.
Use the method that best resembles your On Screen Menu.
Input Button Programming
Input Menu Screen Version 1
- Press the [Input]
button on the remote control.
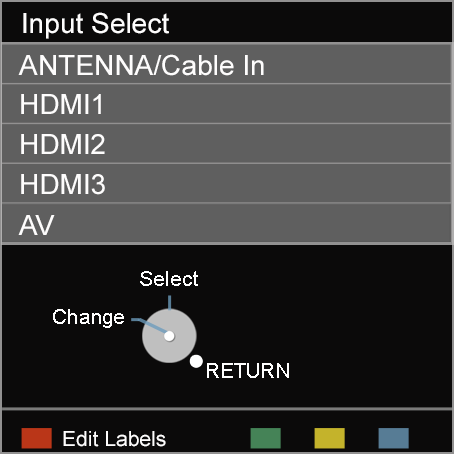
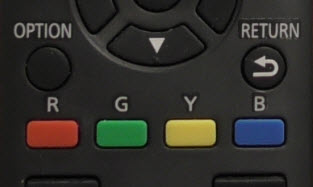
- Press the [
 ] (R (red)) button to "Edit
Labels".
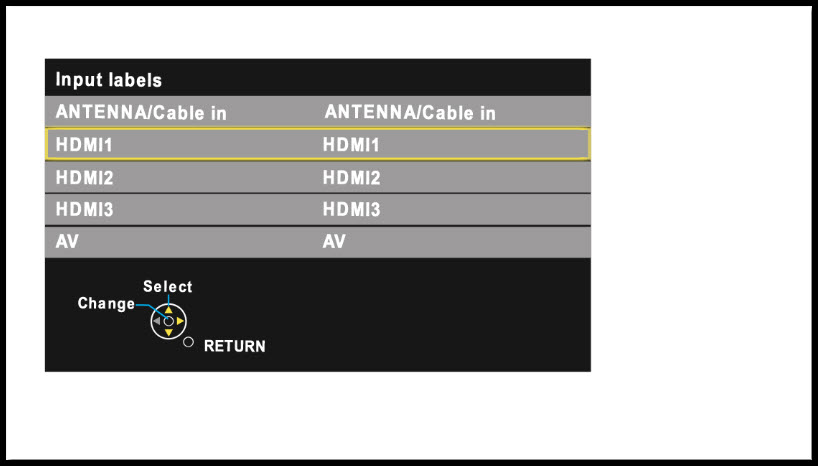
- Press the [▲] or [▼] to select the input you want to
label. Press [OK].
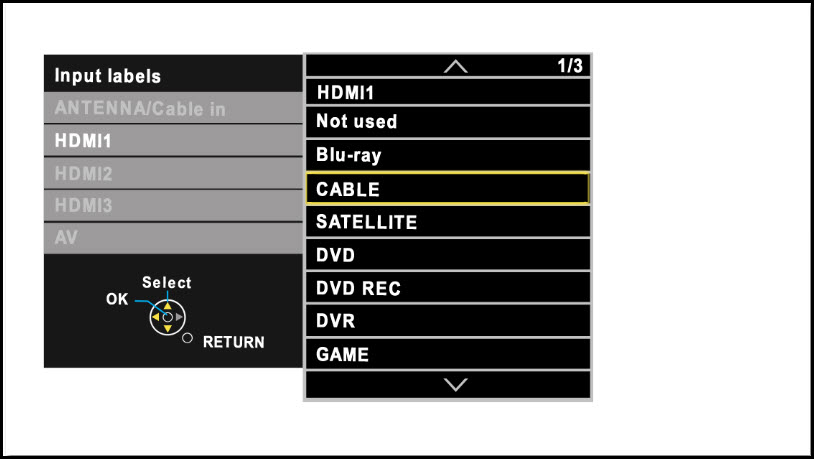
- Press the [▲] or [▼] to select the input label you
want to assign it (example:HDMI1, Not used, Blu-Ray, Cable,
Satelitte, DVD, DVD REC, DVR, Game.) Press [OK].
- Press [X] (EXIT)
button to exit.
Set up Menu Button Programming
Set Up Menu Screen Version 1
- Press the [MENU]
button. Pcture, Sound, Lock and Setup will display.
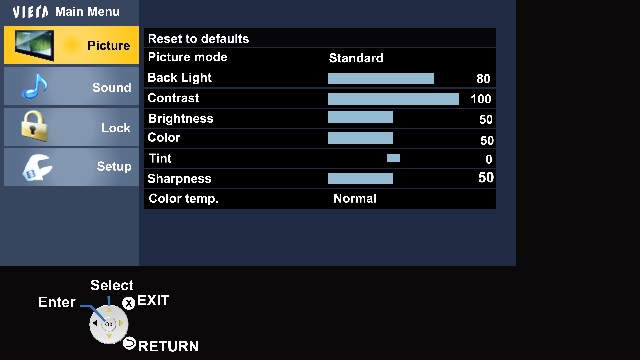
- Press the [▲] or [▼] to select "Setup",
then press [OK].
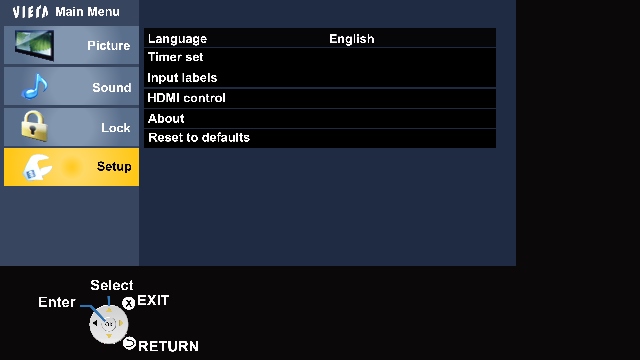
- Press the [▲] or [▼] to select "Input labels", "External devices" or "connected devices" then press
[OK].
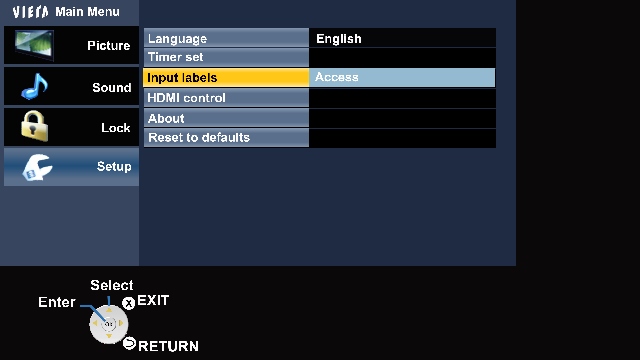
- Press [▲] or [▼] to select the input you want to
label, then press [OK].
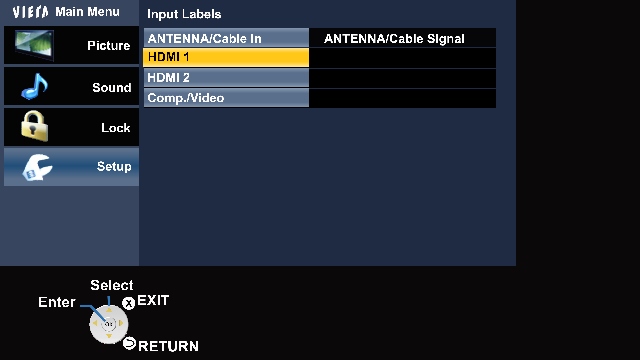
- Press the [▲] or [▼] to select the input label
((example:HDMI1, Not used, Blu-Ray, Cable, Satelitte, DVD, DVD
REC, DVR, Game.).
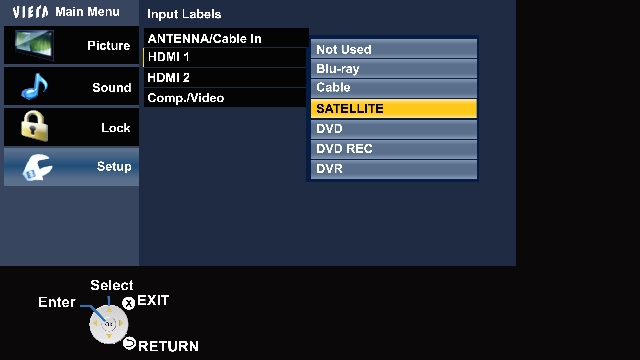
- Press [X]
(EXIT) button to exit
Set Up Menu Screen Version 2
- Press [MENU].
- Press the [▲] or [▼] to select "Setup".
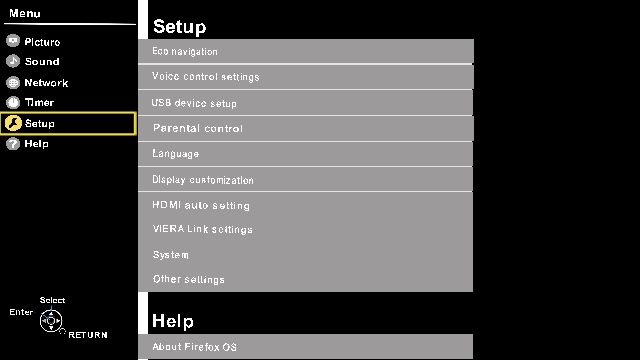
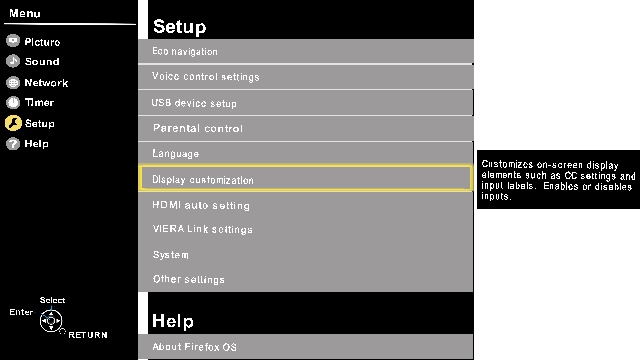
- Press the [▲] or [▼] to select "Display settings/customization" and
press [OK].
- Press the [▲] or [▼] to select "Input labels" and press
[OK].
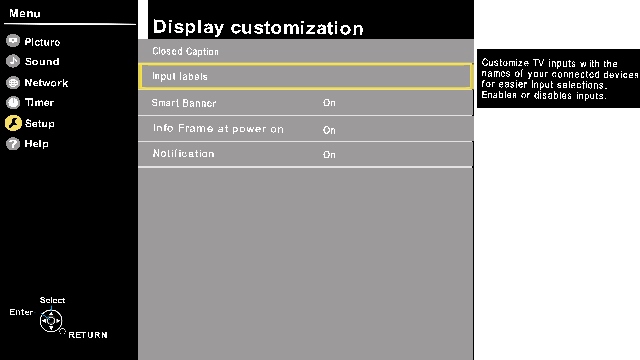
- Press the [▲] or [▼] to select the input you want to
label. Press [OK].

- Press the [▲] or [▼] to select the input label
(example:HDMI1, Not used, Blu-Ray, Cable, Satelitte, DVD, DVD
REC, DVR, Game). Press [OK].

- Press [X] (EXIT)
button to exit.
Note:
Screen shots vary by model/series.
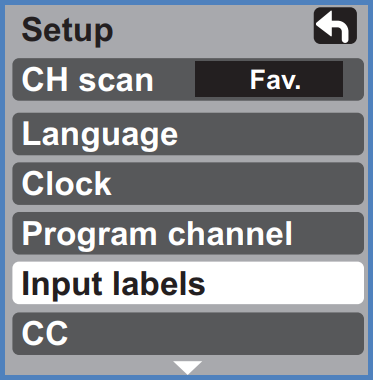
Set Up Menu Screen Version 3
- Press[MENU].
- Press the [▲] or [▼] to select "Setup".

- Select “Input labels”. and press
[OK].
- Select the terminal and then
press the [►] or [◄] to change the label
name(example:SKIP, DVD, AUX etc.).
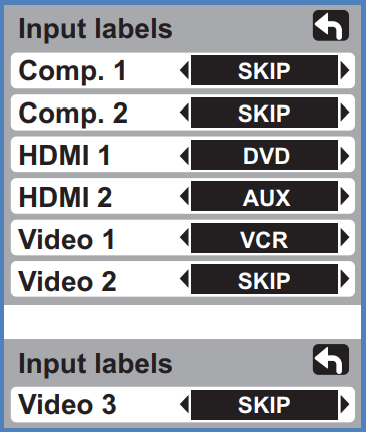
- Press [EXIT] when done.


