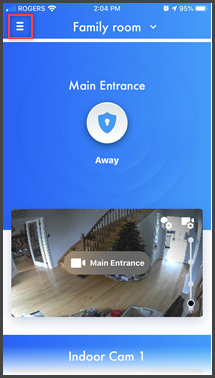
 From the "HomeHawk"
app home screen tap the "Settings" icon.
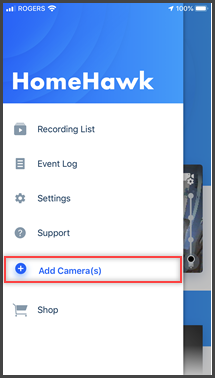 Tap "[ Add Camera
].
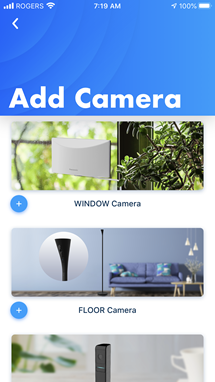 Tap [ WINDOW Camera
].
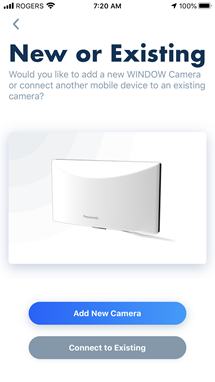 Tap [ Add New Camera
].
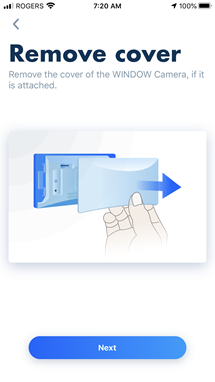 Remove the cover if attached then tap [ Next ].
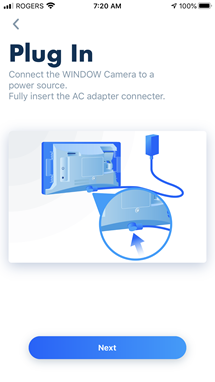 Connect the camera to a power source and fully insert the AC
adapter. Tap [ Next
].
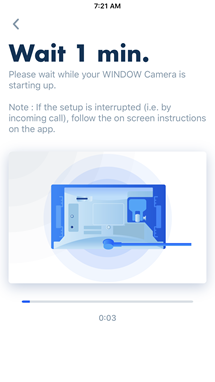 Wait while the camera starts up, about 1 minute.
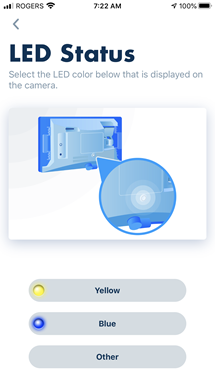 Select the LED color that is displayed on the camera. For
this tutorial we selected Yellow.
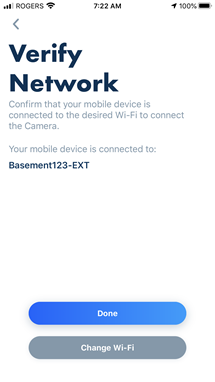 Confirm that your mobile device is connected to the desired
Wi-Fi to connect to Camera, if Yes, tap [ Done ].
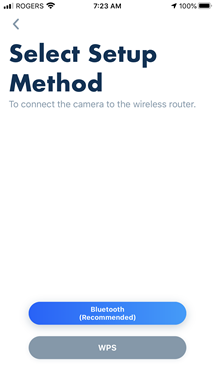 Select the Setup Method to connect the camera to the
wireless router.
Select the Setup Method to connect the camera to the
wireless router.Tap [ Bluetooth ].
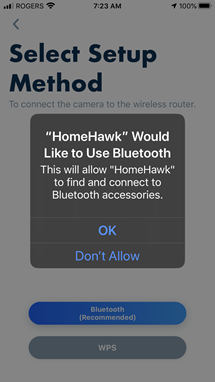 Tap [ OK ] to allow
the App to access and connect to Bluetooth.
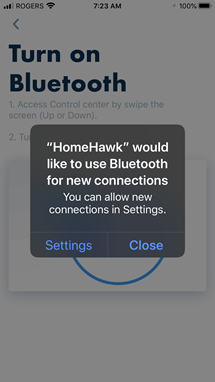 Tap [ Close ] to
continue.
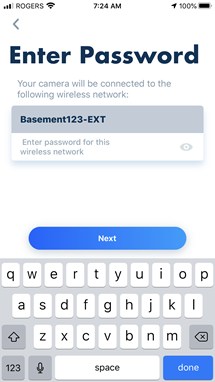 Enter the password for the wireless network.
Tap [ done ].
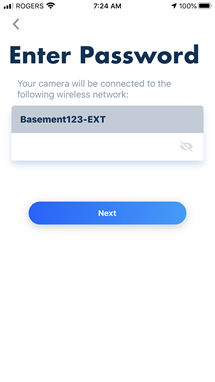 Tap [ Next ].
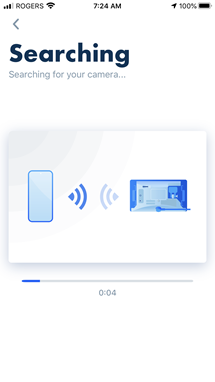 The mobile device will automatically search for the
camera.
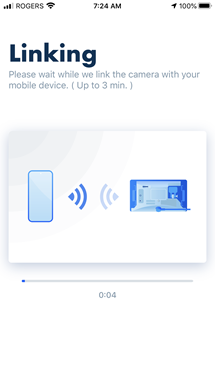 Once the camera is found the mobile device automatically
links to the camera.
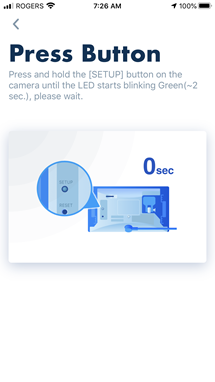 Press and hold the [ SETUP
] button on the camera until the LED blinks
Green.
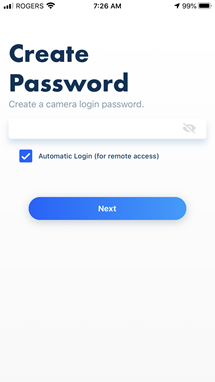 Create a password for the camera, tap [ Next ].
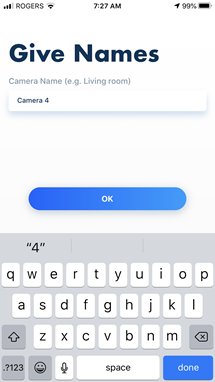 Create a name for the camera, tap [ OK ].
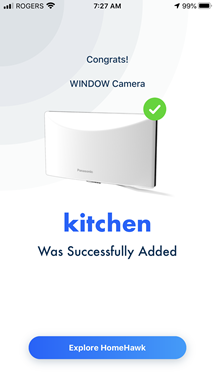 Setup of the WINDOW camera is complete.
Tap [ Explore HomeHawk ].
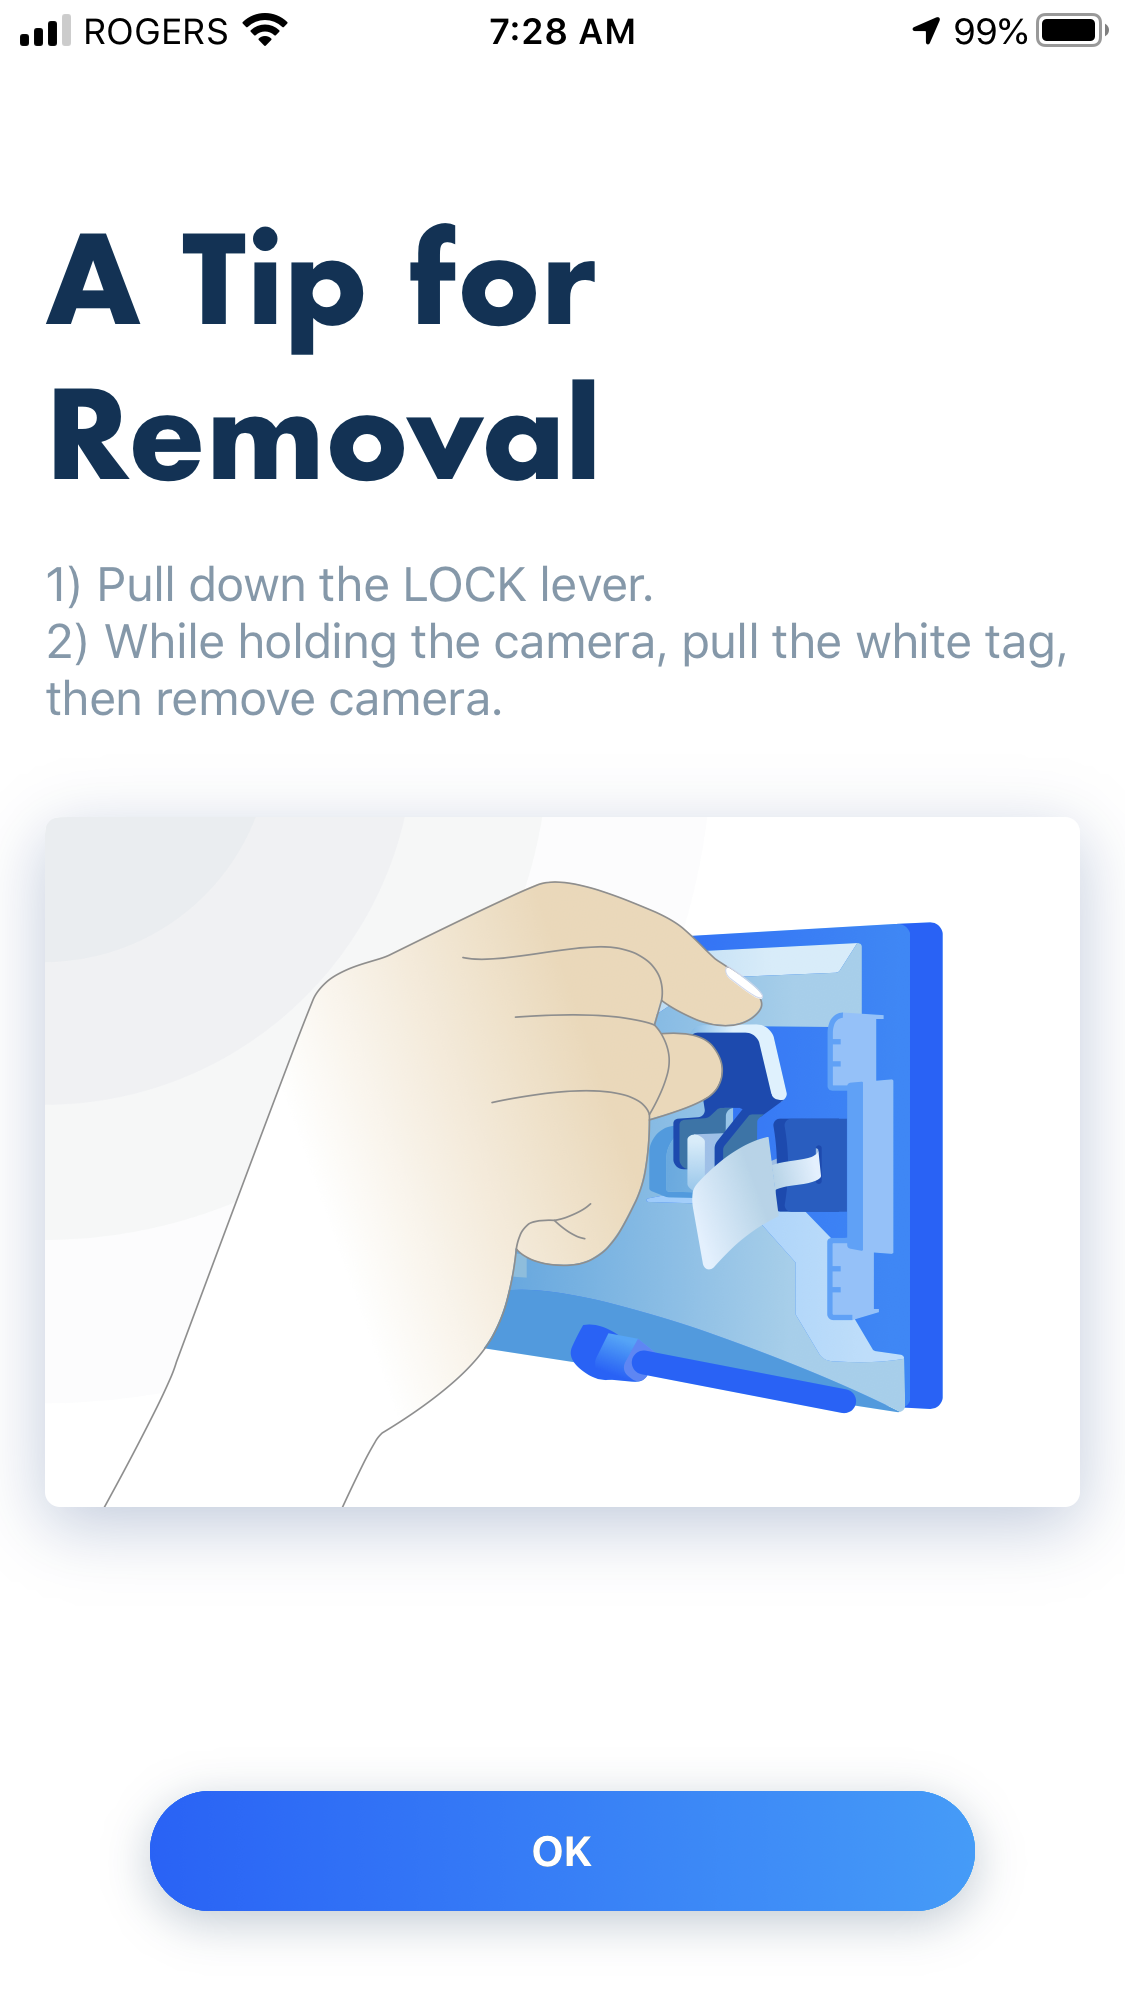 Tips for removal are shown.
Tap [ OK ].
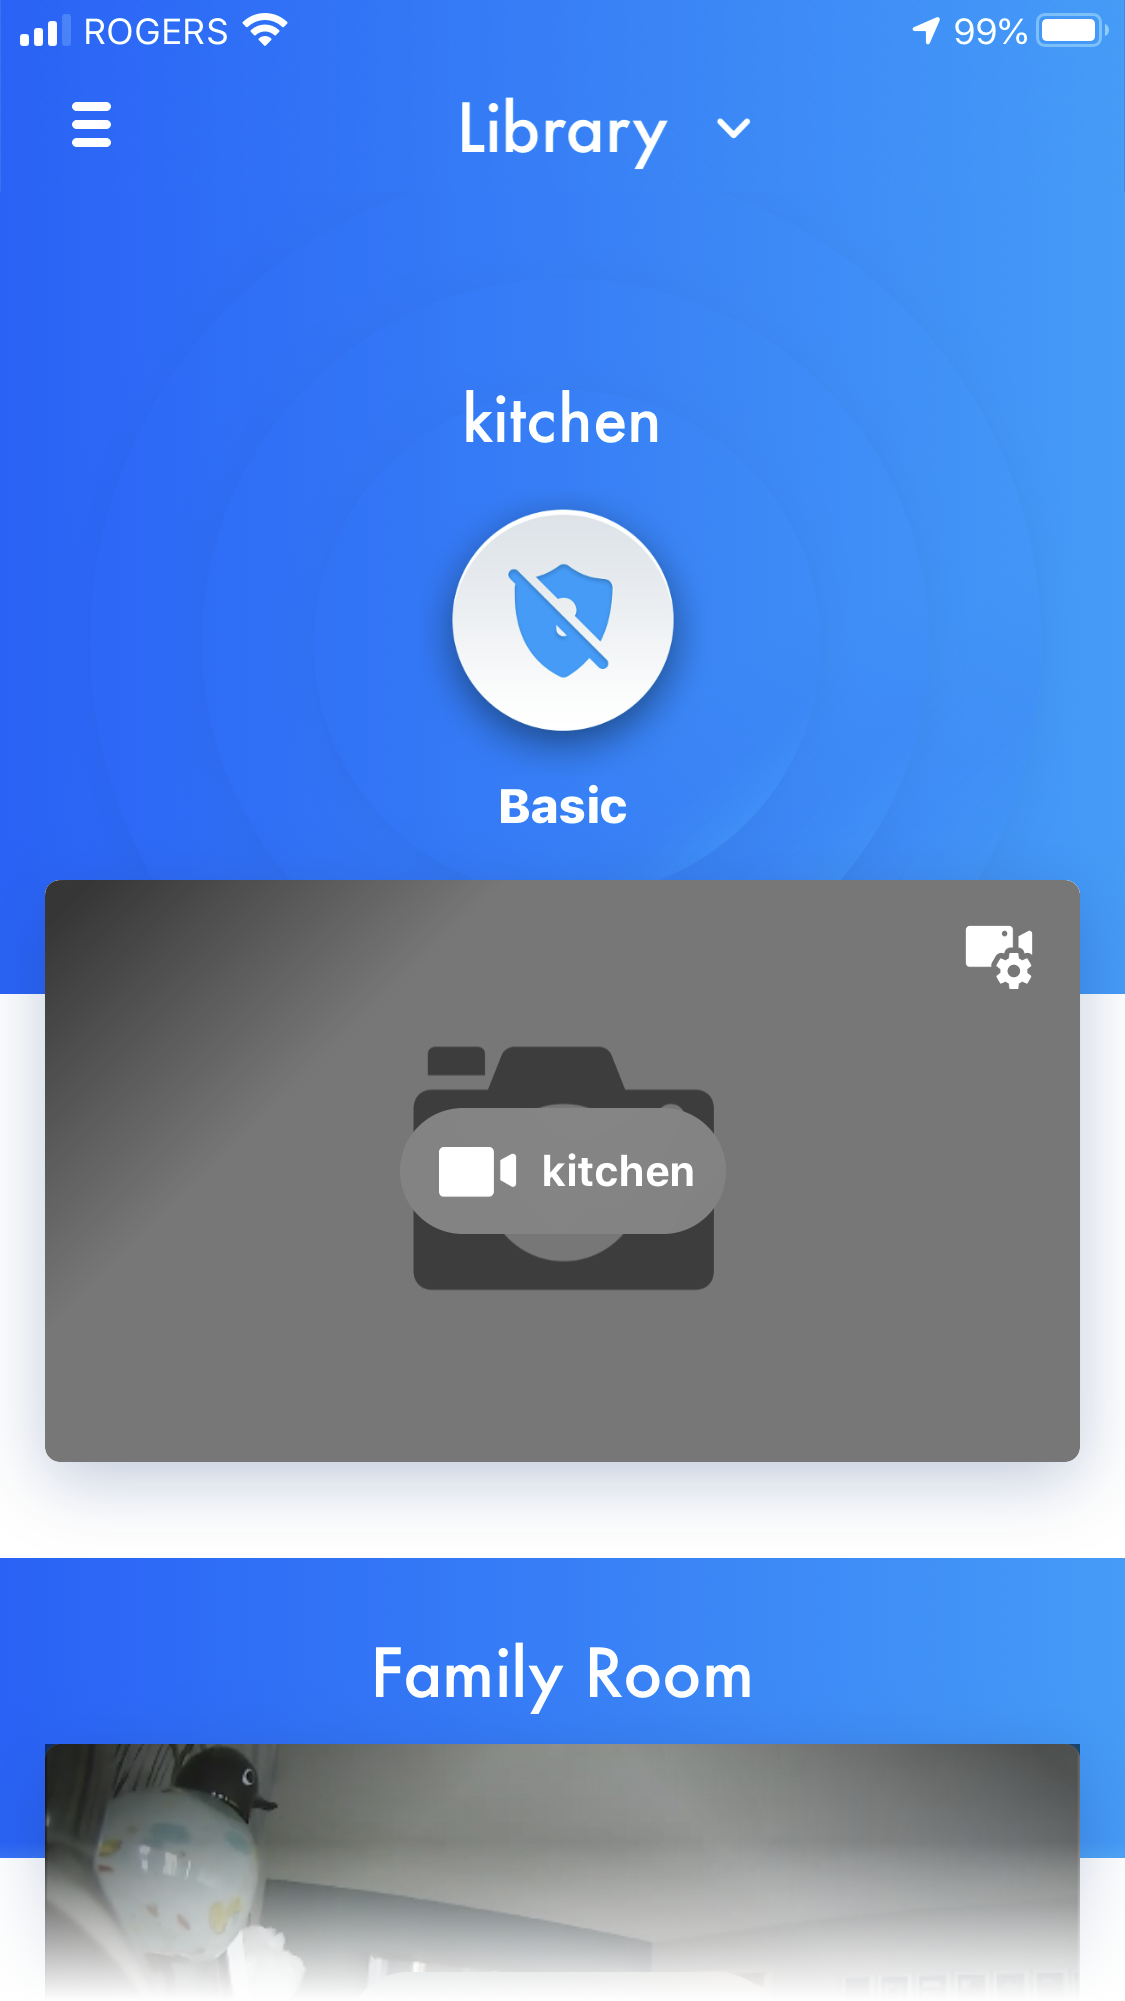 The WINDOW camera is now shown on the Home screen of the
App. Tap the camera to view.
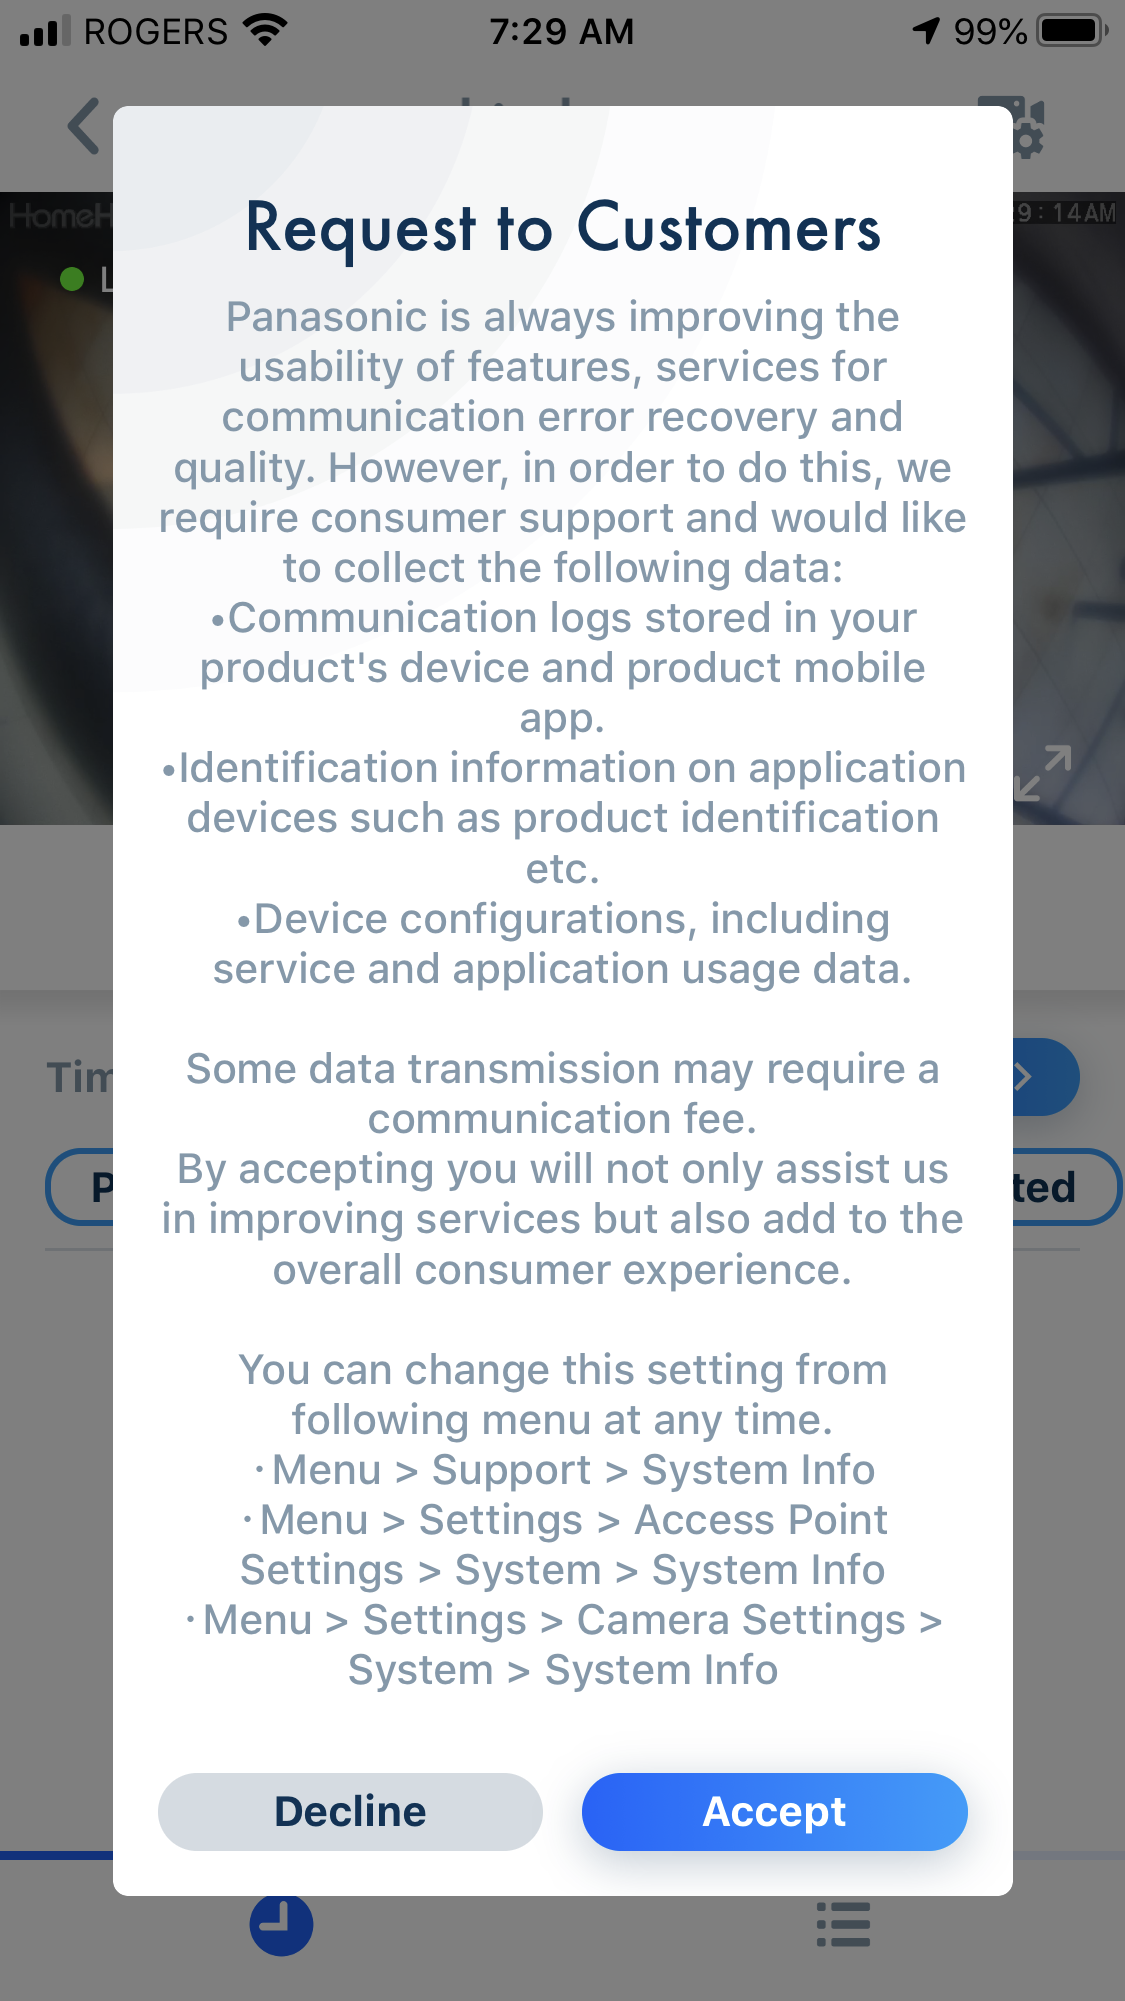 A request permission screen appears, review and either
Decline or Accept.
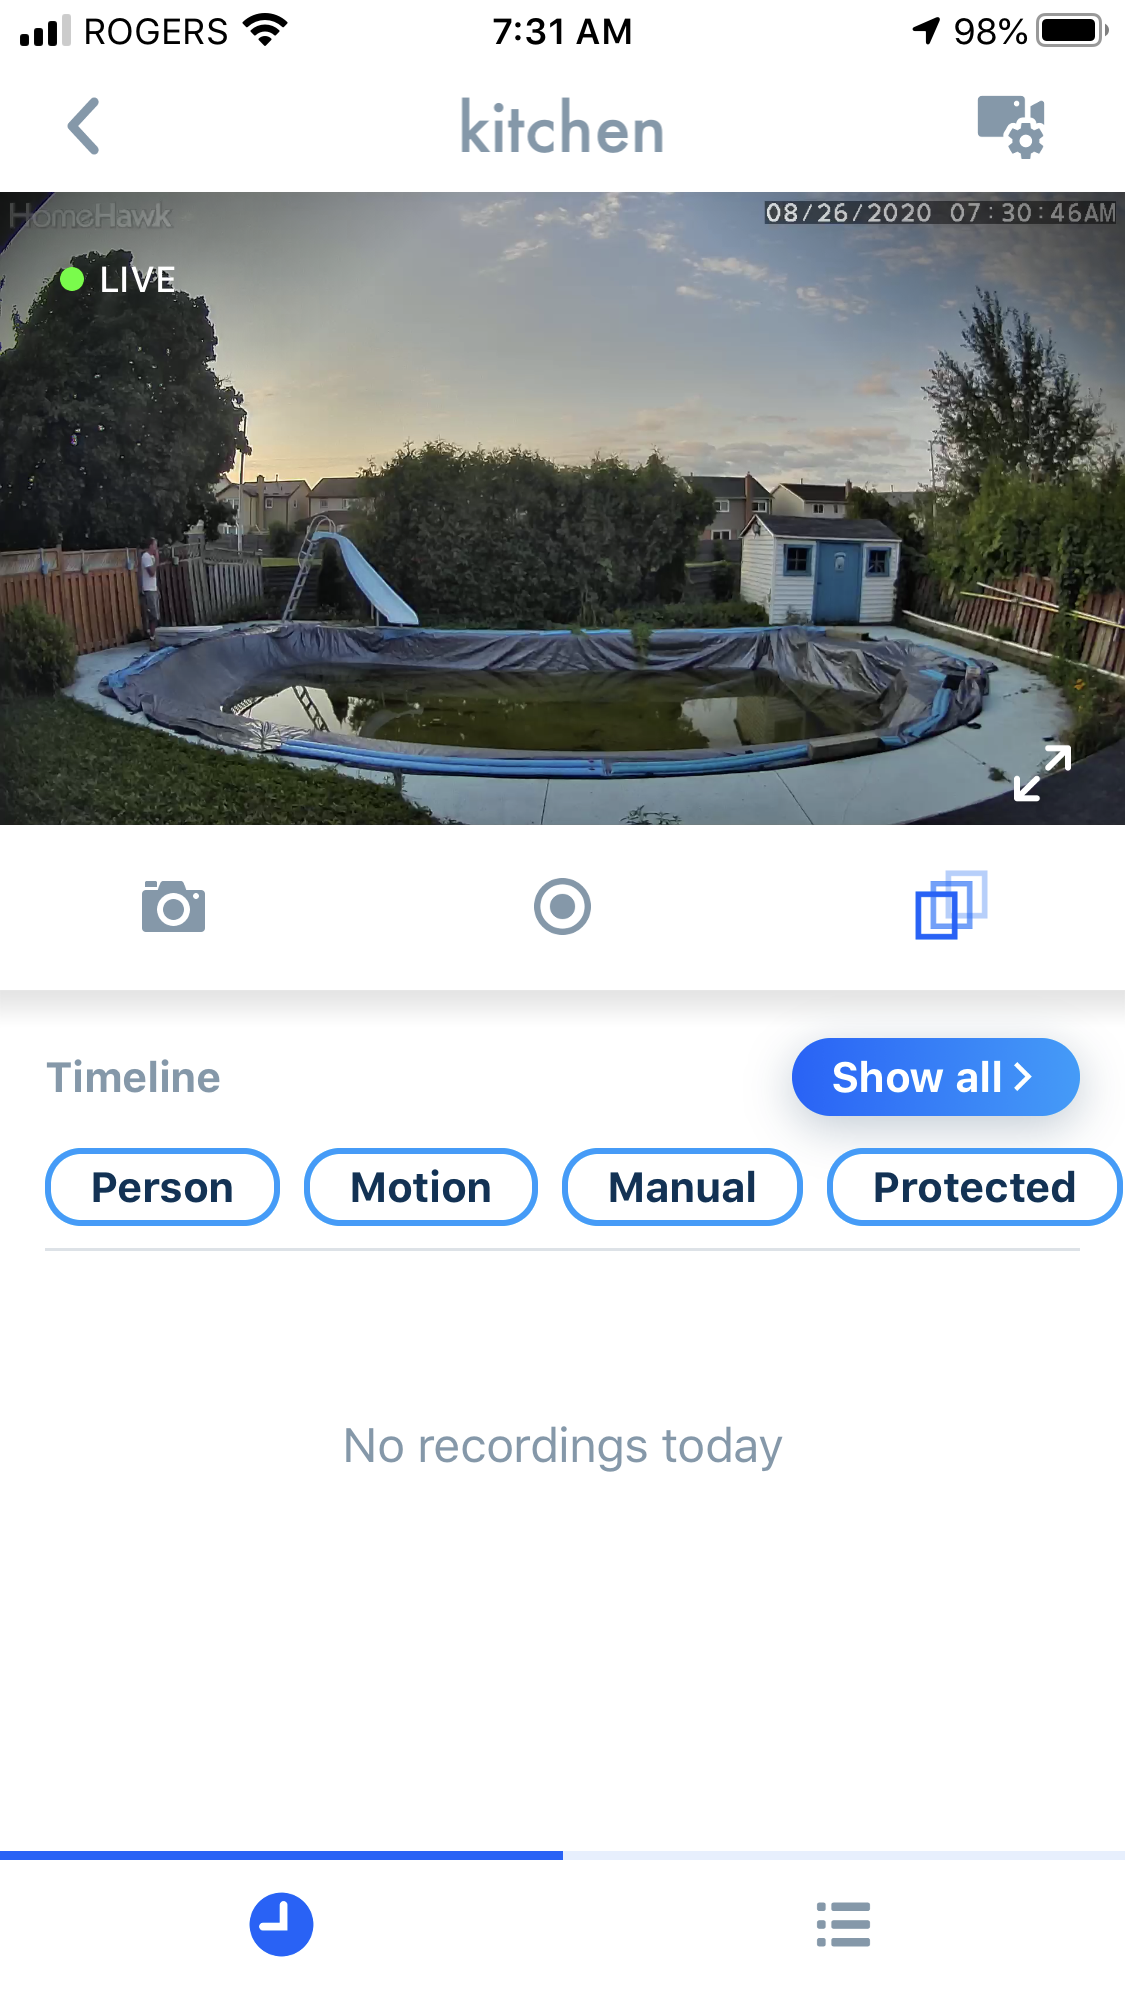 The WINDOW Camera live view is dispayed.


